
Summary
Use following very simple steps to get any PnP SPFx web part or extensions to your tenant using Github Actions.
I recommend use the following two links to get any sample code.
https://aka.ms/spfx-extensions
Prerequisite is that you have already cloned the PnP repo. Or if you like you can download the repo as a Zip file.
c:\PnPSPFX\>git clone https://github.com/pnp/sp-dev-fx-webparts.gitStep by Step Solution
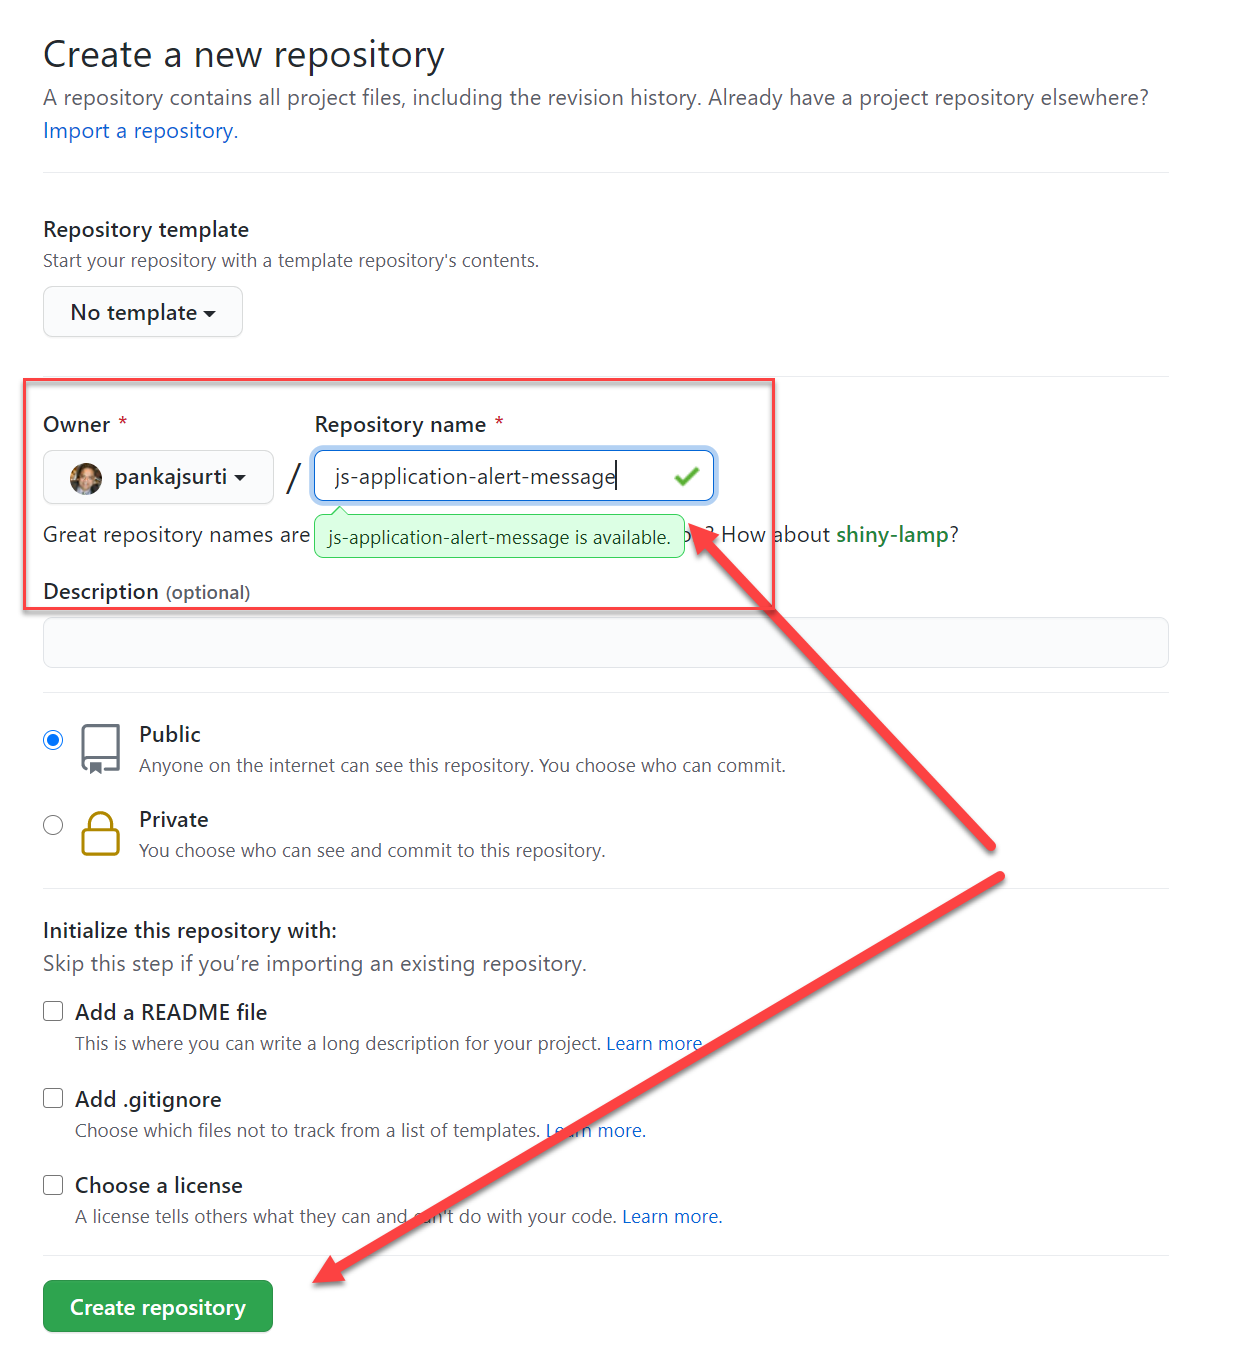
Step #1 Lets assume you want to get the “js-application-alert-message“. Create a Git Hub Repo.
Step #2 Copy entire directory “js-application-alert-message” to a new location say ‘c:\demo\js-application-alert-message’ e.g.
xcopy react-application-festivals*.* c:\demo2\js-application-alert-message*.* /E /FStep #3 Push the new directory with the code to the NEW GitHub repo using the following commands.
 git init
 git add *.*
 git commit -m "first draft"
 git remote add origin https://github.com/pankajsurti/react-application-festivals.git
 git push -u origin master
Step #4 Your source in the GitHub repo. It is time for creating two new secrets.
adminUsername (I used the admin@[TENANT_NAME].onmicrosoft.com)
adminPassword (password for the tenant)
on your repo click on “Settings” then click on the “Secrets”.
Add above two new secrets.
Step #5 It is time to add the GitHub Actions Workflow.
- Click on Actions.
- Click on “Skip this and set up a workflow yourself”
- Rename main.yml to ‘build-and-deploy.yml’
- Delete everything in the yml file and copy paste the following code.
- Copy new yml code from https://raw.githubusercontent.com/pankajsurti/spfx-cicd-template/master/.github/workflows/Build-Deploy-SPFX.yml
Step #6 Check the build and deploy is complete.
